So what's a guy to do on a cool, rainy day? The grandson is playing with Grandma, and I think I'll connect up the antenna and play radio!
Well...this was actually kind of planned. Today is the day for the "Armed Forces Day Cross-Band Test" where various shore stations, museum ships, military bases and vessels will transmit on certain military frequencies, and listen for replies on Amateur Radio frequencies. Naturally, I wanted to try and contact the Iowa, which is why the vertical was put on-the-air yesterday.
Made my big mug 'O Joe, connected the antenna to the radio and the control cable to +12VDC, turned everything on, and tuned to 14463.5 kHz, where the Iowa was transmitting as NEPM, and there they were, with my buddy Doug at the mic, no less.
After a few minutes of listening to him work a bunch of stations, he announced the Iowa was listening on 14261 kHz, so I enabled the "B" VFO, set it to 14261, went back to the "A" VFO, entered "Split" mode, and started calling NEPM. After he worked a few stations he asked for "The stroke zero only, please", which means he heard me, so I called him again, and we had a short chat. The object of the Cross Band Test is to make sure that Amateur Radio stations have the capability to communicate with U.S. military forces in time of need, and not to carry on long conversations.
Or, as the official announcement states:
"The Army Military Auxiliary Radio System will host this year’s Armed Forces Day Crossband Test, scheduled for May 12, 2018. This annual event is open to all radio operators, and will not impact any public or private communications. For more than 50 years, military and amateur stations have taken part in this event, which is only an exercise scenario, designed to include hobbyist and government radio operators alike.
The AFD Crossband Test is a unique opportunity to test two-way communications between military communicators and radio stations in the Amateur Radio Service (ARS), as authorized in 47 CFR 97.111. These tests provide opportunities and challenges for radio operators to demonstrate individual technical skills in a tightly-controlled exercise scenario that does not impact any public or private communications."
So it's really more of a fun thing to do these days than serving any actual purpose other than getting off their duff and actually operating their radio gear.
And after the contact, I decided to get the temp station here in the sunroom full "Digital Capability" which meant hooking up my SignaLink interface box, installing some software, and then getting it all configured to play nice.
This is all stuff I've done numerous times before, but it was fun digging out the bits and pieces I needed to give my little Elecraft K2 much more capability.
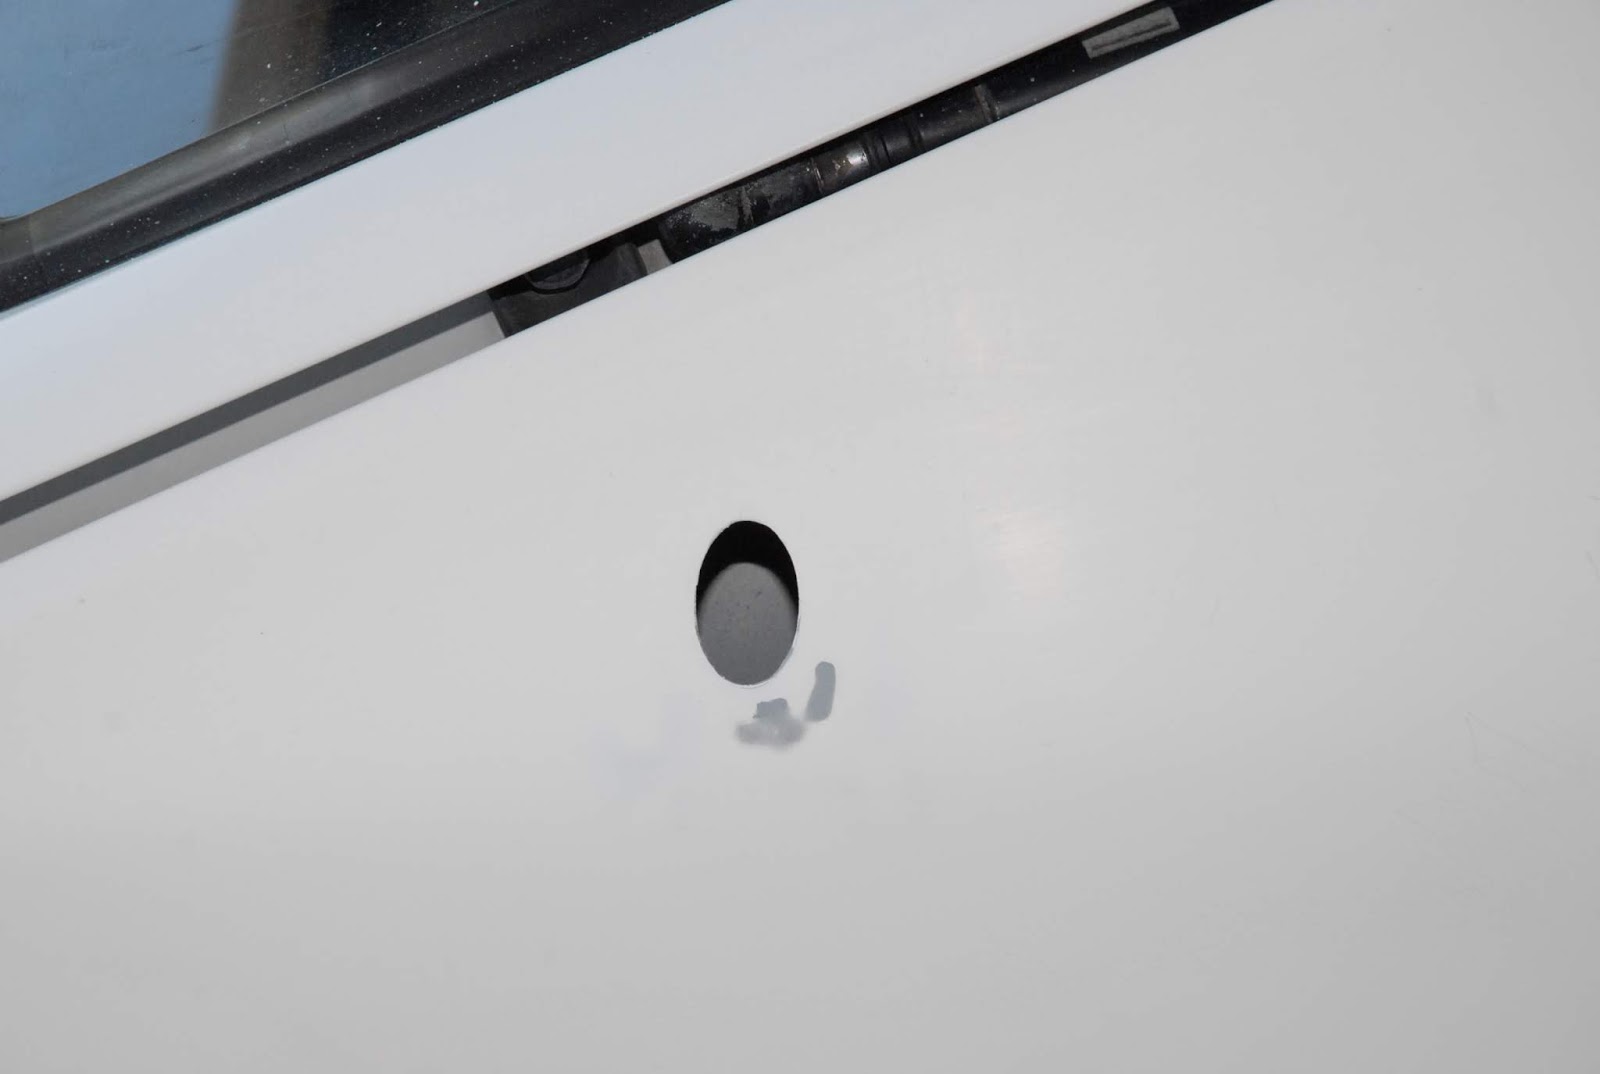
And I even discussed installing a cable penetration into the sunroom with my wife, so I don't have to have the door cracked open to run the cables through. Be pretty easy to do with a short section of 2" PVC pipe and a couple of 90* elbows, painted to match the interior and exterior.......
AND....I broke down and bought a Harbor Freight 48" workbench. Which took two days to assemble and position, including moving a bunch of stuff around in the garage. Now that it's all put together it seems sturdy enough, but I wouldn't bolt a vise down to it....the top worksurface is some kind of particle board with a plastic skin on it, about .6" thick, and I don't think it would take too kindly to having a 6" swiveling vise bolted through it. It came with a 13 Watt (?!?) light above it, but I'm going to replace it with a 36" LED that draws about 34 Watts producing 3600 Lumens. Should be nice and bright on the worktop.
See these old grey steel shelves? They're identical to ones my Dad bought back in 1957 when we moved into the house I grew up in.
Gee...even have the square nuts and slotted screws holding them together!
I was going to buy some of the wire rack shelves like I have along the sides of the garage, but these old things are here, so they're free, and I know from growing up that if I unload them, set them on the mythical "Hard, Flat, Level Surface", loosen the hardware that isn't already loose, square them up, and retighten all them funny 'lil nuts and bolts, and they actually work pretty well. And I'm going to anchor them to the wall with some Really Heavy Duty wall anchors, not for seismic safety, but because it's a work area, and stuff gets banged into. Sometimes it gets knocked over. Makes a big mess. I don't like cleaning up a mess I caused when if I would have spent an extra half hour screwing the shelf to the wall it wouldn't have happened.
I shudder to think how I'd feel if it landed on the Supra......
Did I mention they're free?
SO.....since I'm still negotiating with the electrical guy over a greatly reduced installation, what I'm going to do is mount the 48", 12 outlet plug strip sitting on top of the rack down to the rack, and plug it into the duplex outlet that's now located right smack dab in the middle of the pegboard but behind it, and take advantage of the one 15Amp circuit I have. Two of the outlets will go to the garage door openers. That's a very low duty cycle load, so it can pretty much be ignored. My big LED work light draws "93 Watts" per the nameplate, and that less than an Amp. The new lamp for the workbench is "34 Watts", which added to the worklight makes the running total just about an Amp.
Add two more 48" LED fixtures at "50 Watts" each, and I'm at maybe two Amps. That's the beauty of LED lighting...you can get a lot of Lumens for not too many Watts.
The two orange cords crudely stapled to the wall carry the 120VAC to the garage door openers. Two cords terminated with ONE plug.....really Bubba'd up good! I'll clean all that up, but the first time I saw I saw it I busted up laughing, our real estate agent thought it was pretty funny, too.