Is important, at least to me. Just getting back to my regular activities, like hanging out in the garage and listening to the radio felt good, and now that I'm mobile enough to readily get up and down the basement stairs, I've been tinkering away down there. I keep walking away from my hiking staff without missing it, so I guess that's a good sign, too.
I'm not quite ready to start wrestling 40+ pound audio/radio gear around, but this is a great time to catch up on smaller projects, like the speaker kit I received right before The Great Hip Incident. It's also a time to look at how other customers put their kits together and get some ideas on how to do it solidly.
So let's get started!
The front baffle and one of the side panels go together first:

This first step is important, as you need to get the two panels square, and lined up:

Then the top and bottom panels go together:


Add a few more pieces, and the cabinets are almost glued together:
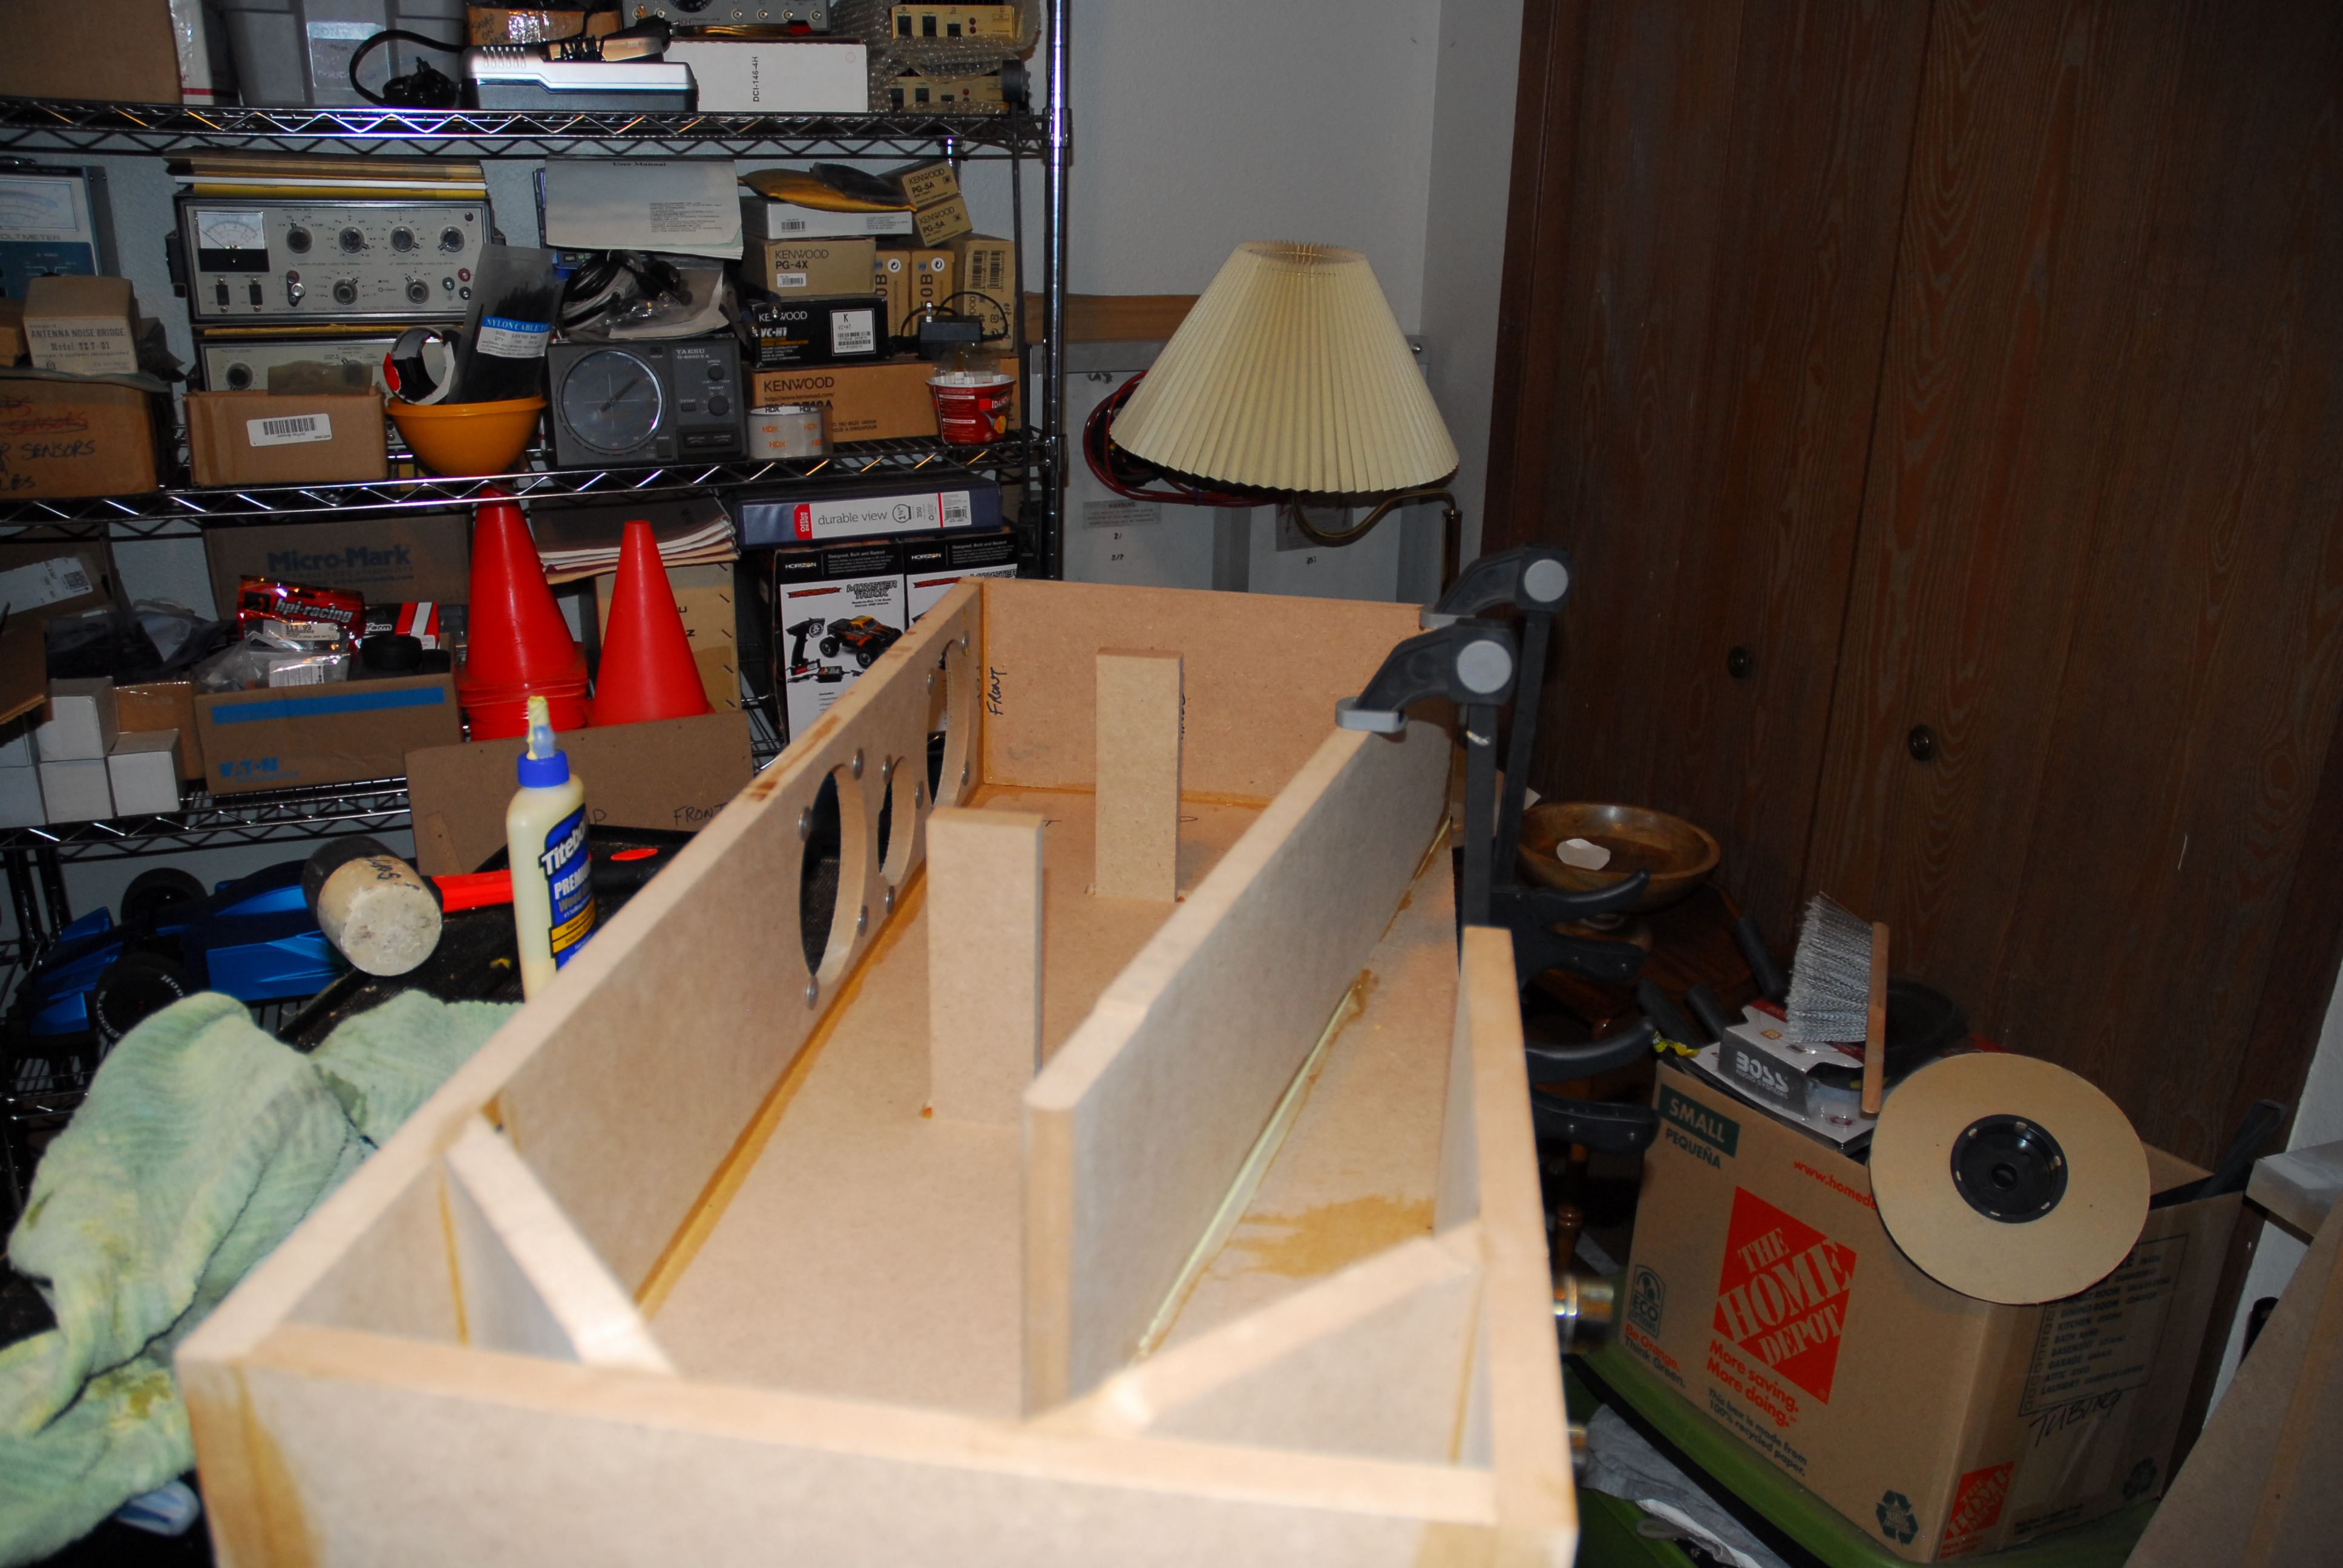

And I get some of the light weight items put back on the shelves:

And we just got back from my follow-up visit with the Orthopedic Surgeon. He said it was an easy surgery, and things went together in a "text book" fashion. I'm now cleared to drive, and be by myself for extended periods. And next week they might give me sharp utensils.....!


Just remember not to over do it! Also keep the head up and the feet down, not the other way around.
ReplyDeleteAnd tripping hazards are on permanent Search-and-Destroy status...
DeleteAll good news, drjim.
ReplyDeleteYou all be safe and God bless.
Thank you, Linda.
DeleteSoon you can exercise the Supra.
ReplyDeleteYeah, I'm itchin' to get back to doin' "The Throttle and Brake Two-Step Boogie"!
DeleteSpeaker project looking very nice. Damsel and I are amazed at your progress in healing.
ReplyDeleteIt's coming along. Basically, every piece of each cabinet was hand-fitted, then dry clamped to ensure the alignment was correct, and then the pilot holes in the mating pieces were drilled using the existing holes in the piece they fit to. Then they were glued and clamped, alignment verified, and the screws driven in. Still have to fit the remaining two panels, the sides, and then install the acoustic foam, the crossover networks and wiring. Then I can glue and screw the last side panel in place, tape off the mounting holes for the drivers, and sand, fill, sand, and fill some more before I paint them.
DeleteGlad you're back to 'functional'!
ReplyDeleteStill have a few warning lights on, but at least the Master Caution went out!
DeleteGlad you are back to things in your basement workshop. Keep on keeping on.
ReplyDeleteIs that a Mohican I see on that bottom shelf?
Yep, that's a GC-1A with both power packs. It was Heathkit's first solid-state Shortwave receiver. Up on the top shelf, tucked away behind an Icom R-7100 is a Heathkit GR-78, their last solid-state Shortwave receiver.
Delete