The first thing to do was pull the covers off as I wanted to check the workmanship, clean it thoroughly, and calibrate it.
OOOPS!

The large cylindrical shape on the right is the 50 Ohm, 175 Watt load resistor. The angle bracket and white insulator attached to it are not in their correct positions. There should be a 6-32x1/4" machine screw coming up through the slot, and securing the insulator to the chassis. The insulator is molded/cast ceramic with the threads formed in to it. They're somewhat fragile, especially if overtightened, and can easily rip the threads right out of the ceramic. That's what happened here, and the whack that did it might also be responsible for the damage to the meter face, seen in the opening photo.
Bent the bracket up a bit, too.

I bent the bracket straight, pulled the load resistor and cleaned both contact faces on it, and then reassembled the stack using some "Jet Lube SS-30" copper-loaded anti-sieze compound. The SS-30 is about the best stuff I've found for use on RF connections like this, and sections of antenna tubing that telescope together, too.
This is the "Cold End" (Grounded Side) of the RF Load Resistor giving an idea of how the whole "Load Stack" goes together. There's a 10-32 threaded rod running through the resistor, clamping this end at ground potential.

This is where the resistor mounting plate bolts to the chassis. The instructions specified you sand the paint off the bottom corners of the plate, and also in the center of the plate, as you can see in the above picture.

And down at the other end of the resistor, the now straight bracket and insulator are attached to the chassis with some super strength 3M double sided tape.

Pretty much back together and ready for calibration.

Ready for calibration, that is, after I do the one repair it needs, replacing the broken capacitor shown here.

If you look carefully, almost in the center of the picture, you'll see a round, yellowish item with what looks to be a chunk taken out of it's center. You'll also see what almost looks like a tiny golf putter sticking out towards the blown-out spot.
Yes, they were one at sometime past. When the Load Resistor got loose and wandered over to the other side of the case, it tore a small ceramic disc capacitor in half. That small capacitor is a 7.7pF, and since it's got one end connector to a source of RF Voltage that can exceed 220 Volts @ 1kW applied power, it should be rated 1kV.
And I don't have any suitable ones in stock. I could cobble something together to make it work, but I'd rather wait for this part to arrive. I'm going to go ahead and calibrate the meter, as that broken part is only selected if you use the "Calibration Using 40 Meters" procedure. Since I'll be calibrating it by measuring the applied RF voltage, I should wind up with a slightly more accurate calibration. Just for grins, though, I'll rerun the calibration using their "40 Meter" method, and see how it comes out compared to measuring the voltage.
Scrounging around the shop reveals no trace (YET!) of my nice, new, fancy RF Voltage probe. The circuit has been around "forever", going back to the 1930's, and these days the packaging's the thing, and this probe just plugs right in any of my nice, new, shiny, calibrated, Digital Multi Meters, and lets me directly read RF voltage up to 250MHz, and 50 Volts applied.
Well, I do have this Old Guy to fall back on.

A pristine Heathkit RF Probe, Model PK-3, from the late 1960's. And what, pray tell, do I connect such a vintage device to so as to render it useful?
Why, another vintage Test Instrument, what else!

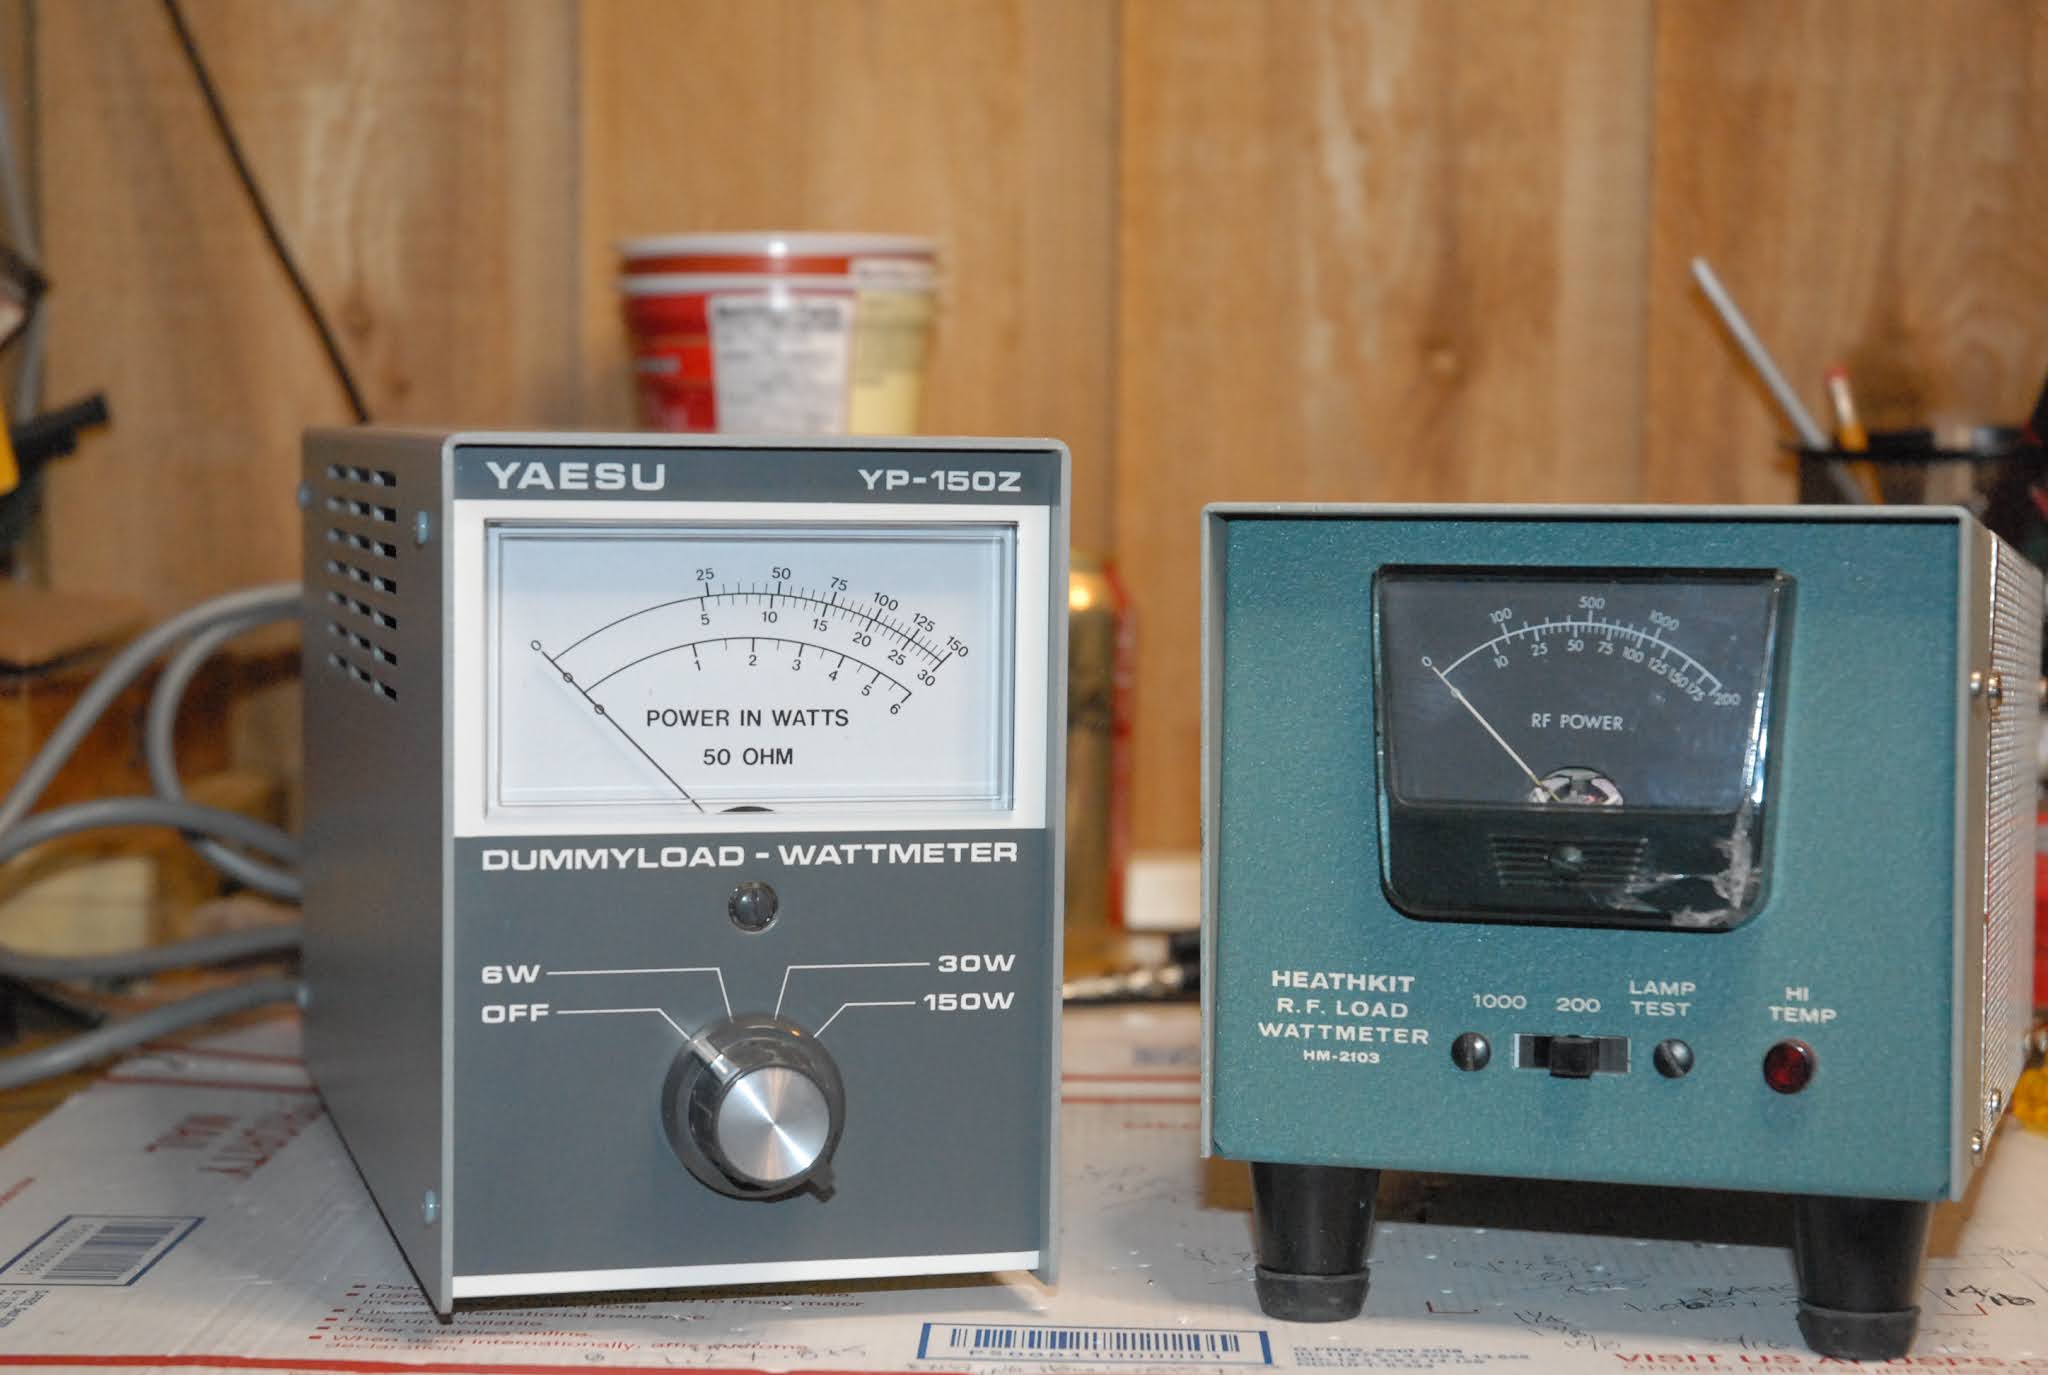
This one's a Heathkit (see a pattern here?) "Model V-6 Vacuum Tube Voltmeter", which was produced from 1952 to 1954. I got this one about six or seven years ago, and promptly rebuilt it. Both tubes were good, but it had a Selenium Rectifier in it, so I replaced that with a silicon diode and a small dropping resistor. I also built a small power supply for the Ohmmeter section, so no more leaky dry cells in the meter. Since I had other meters with current calibration certs, I used them along with some variable power supplies when I calibrated this one. It's pretty dusty from sitting around, so I'll clean it up tomorrow, and start setting up my "High-Power RF Generator" (My Elecraft K2 rig) so I can send some RF into this thing and get it calibrated. Once the Heath wattmeter is finished I'll open the case on the Yaesu meter, clean it, check it, and then calibrate it. It may or may not go on the block. I have three other accurate RF power meters I can use. If I had some vintage Yaesu gear of the same era I'd be tempted to keep it, but I don't.


I love watching these posts unfold. I dabbled in electronics for a fairly short time, in the '60s and early '70s, and your stuff tends to look rather familiar. Whether that's good or bad, I'll leave to the experts. :)
ReplyDeleteAll of my "old" radio gear is from that era, so if you ever popped the hood on any, it should all look pretty familiar.
DeleteGod willin' and the crick don't rise, you'll see a bunch more in the coming days.
We used to refer to broken capacitors like that as being "lightly coupled."
ReplyDeleteYou're probably closer to 7.7 femtofarads than 7.7 pF.
HAH! Best one I've heard all year, SiG!
DeleteI've seen people peel the leads off like that, trying to make it reach that last 1/8", but I haven't seen one ripped apart like this one in a good many years....
Toys, toys, and more toys! :-)
ReplyDelete