Tuesday, September 13, 2016

Rear Suspension Work

Well, I'm shutting down for the night. I didn't get as much done as I had hoped for, but then that's nothing new for me....

I followed the TSM, and dropped the outer flange for the half-shaft, and as soon as the shock was loose at the top, I lowered the jack, and the spring about fell out.


The upper isolator/cushion was in pretty good shape for being 30+ years old.


 But, WOW...the bottom one was toast!  I'd say it deserves retirement after 30+ years and 167,000 miles of faithful service.


 Had to do some finagling to get the shock installed, and it really would have helped if I'd had an extra floor jack, or a bottle jack, but I finally got the shock installed, and all the hardware tight.


 I also replaced the top bushings for the sway bar end links. They were really shot, and you could rattle them around a good 1/4"!

Some info on the new and old springs for those that keep track of this stuff.

The OEM springs are wound from wire that's .570" / 14.5mm in diameter, and have an overall free length of 14.25" / 360mm.

The new Dobinson C59-059 springs are wound from wire that's .604" / 15.3mm in diameter, and have an overall free length of 12.6" / 320mm.

Bigger wire, and a shorter OAL equals a stiffer spring, so even though it's specified to drop the car about .75", the rate should be higher. I know from my "bounce test" the other night that the front seems a lot stiffer, but I won't know for a day or two until I drive the car.


Final picture for the night I'm going to call "3 Down, and 1 To Go!".....


At this point all I have left to do is a preliminary bleeding of the brake caliper using the MityVac, and recheck everything to make sure all the hardware I touched is torqued properly. I'm playing hookey again from the Iowa on Wednesday (sorry, guys...) so I can get the left rear knocked out. As with the front, now that I've done it one time, the next time will be easier.

Onward...To The Rear!

Tail end is up and on jack stands.


Notice "Inspector Pebbles" checking my work to ensure proper safety standards are being followed!

And yep, I've either got a spot of something on my sun filter, or the sensor in my Nikon needs cleaning.

Initial inspection shows the rear pads and rotors to be in excellent condition, but man.....the rear spring lower isolators/cushions (kind of like a big rubber ring) are TOAST!

Theyre both cracked and split, and it's a Good Thing they're one of those parts I ordered long ago because I suspected they might be a bit worn after 30+ years, and 167,000 miles.

The factory shop manual says to remove the rear sway bar end links, remove the rear shocks, and the springs should come right out if the suspension is hanging free, like it is.

As far as replacing the rear rotors with new ones I have, all I should have to do is remove the bracket that holds the caliper in place, and the rotor should pop right off if the emergency brake is released.

I'm not going to replace the rear control arm bushings at this time, as it's pretty involved, and I'll do those, along with the subframe mounting bushings, and differential mounting bushings, after I get back from Supras in Vegas.

Doing all that, along with replacing the steering rack, is probably a several week project at the rate I work at.

She's On The Ground!

Scrubbed all the grease and glop off the power steering hose assembly, and then rebuilt it with the new high-pressure hose, and a length of "SAE J189 Low Pressure Power Steering Return Hose".

And I used the same hose on the short piece that connects the outlet of the cooling loop back to the reservoir.

Then I spent a couple of "pleasant" hours (I must be deranged...) putting everything back together. Actually, it wasn't that bad, as it's always a good feeling putting nice, clean, freshly rebuilt stuff back on the car!

Filled the reservoir and started the car, carefully checking for leaks.

WHOOPEE! No leaks!

So then I ran the steering wheel from lock to lock a few times, and watched all the foam in the reservoir build up and dissipate, indicating the air was getting bled out of the system. Topped off the reservoir, checked all the fittings for tightness after I shut the engine down, and all was good.

Fired up the engine again and bled the brakes by cracking open the speed bleeders, connecting them to a small jar to collect the expelled fluid, and slowly pumping the pedal a few times, checking the fluid in the master cylinder reservoir to make sure it didn't get too low and suck air.

Got a few more bubbles out of the brake system and decided it was bled.

Rolled out one "left" and one "right" wheel/tire for each side (the tires have a directional tread pattern, so there's a "left" and a "right"), got out my new lug nuts and wheel locks, and "hub centric rings", and immediately noticed a problem.

The lug nuts I bought have the correct 1.5 thread pitch for the wheel studs on the car, but the wheel locks I ordered were a 1.25 thread pitch.....RATS!

Fortunately I have more than enough lug nuts, but now I'll have to order some matching wheel locks in the correct thread pitch!

Drove the hub-centric rings into the back of the new rims with a soft mallet, and mounted the new front wheels and tires on the car. Dropped her down on the ground and torqued the lug nuts, and I'm done for the night!

Tuesday morning I'll do the final torquing of the lower control arm bolts, and the large nut on the end of the strut rod, and other than a front end alignment, the front of the car is (finally!) finished.


Say "Goodnight, Gracie".....

Sunday, September 11, 2016

"Grease Pit" Work.....

Didn't get much done on the car yesterday. I was on the Battleship Iowa from 1230 to 1715 helping guide a tour from a local radio club down into "The Bowels of the Ship".

Well....not all the way down, but two decks below what most people get to see, where the Transmitter Room is located.

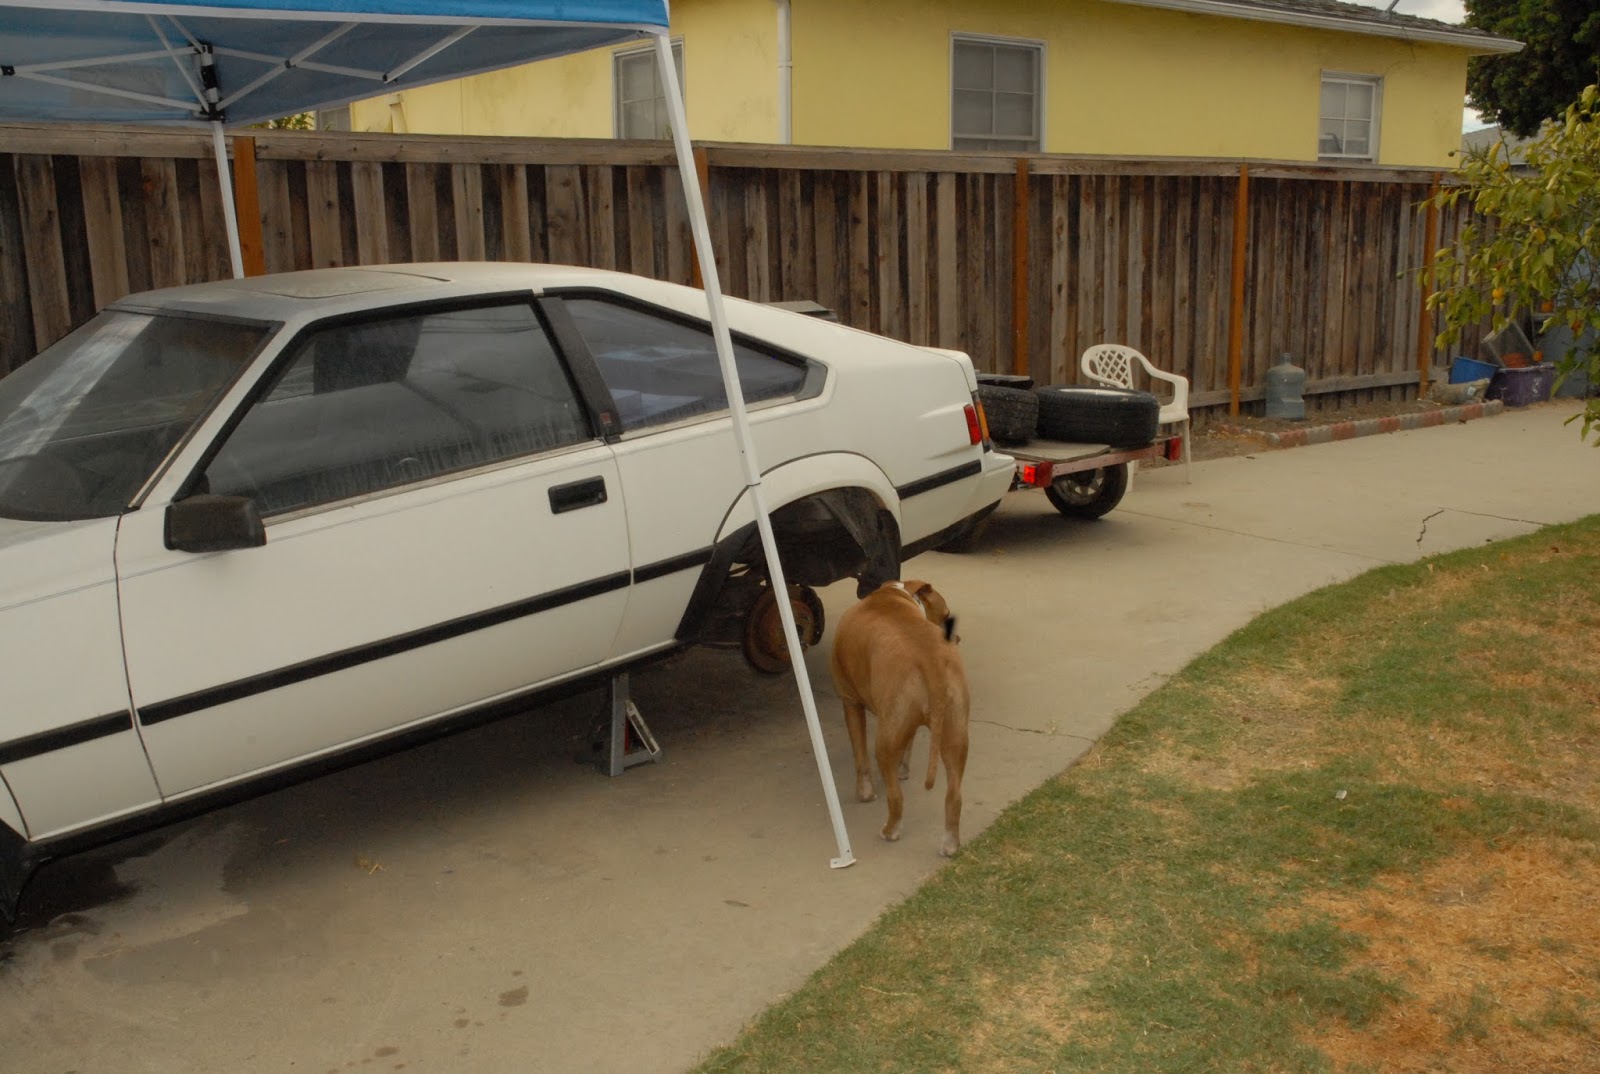
I did make some good progress today, though. I now have the sway bar end links installed, the new bellows boot for the right side of the steering gear replaced, and both hoses for the power steering off the car. I needed to replace the high-pressure hose as the place I originally took it to for smog said the hose was "Leaking fluid and spraying it EVERYWHERE!", and refused to work on it citing safety concerns. I could never find evidence of it leaking any more than a very small amount of fluid, and suspect they really don't want to work on 30+ year old Japanese cars. Oh well....

I pulled both the pressure and return hoses as an "assembly" because they're held together by clamps every 6~12", and by removing two small bolts, they came out as one piece once I had the fluid connections disconnected.

 I found it MUCH easier to replace the hoses (if you're going to do one, you should probably do BOTH...) if I did the following:

1) Remove the air cleaner assembly. This gives much better access to the low pressure return hoses going to/from the loop of tubing Toyota laughingly calls a "cooler". It's better than nothing, and I do plan on replacing it with a real cooler. I had a cooler from a Cadillac on my 1973 Trans Am, and it made a noticeable difference in how the steering felt on hot days when I was autocrossing the car.

2) Slurp out as much power steering fluid as possible from the reservoir, unless you like a waterfall of fluid going everywhere as you're laying on your back under the car when you pull the hoses from the rack. -OR- you can plug the outlet of the pump as soon as you pull the high pressure line. Keep in mind the lines themselves are still full of fluid, but at least you won't have the entire reservoir take a dump on you!

3) Disconnect as much as possible from the top first. Pull the flare nut fitting from the pump, and pull the hose going to the cooling loop.

4) Remove the two 10mm bolts holding the clamps to the steering rack. These clamps holds the supply and return hoses together. Wipe the area down before starting to remove the bolts, as you won't get as filthy actually pulling the parts out.

5) Disconnect the flare fittings at the rack, making sure you have a drip pan, and/or plenty of paper towels (see #2 above!). Undoing the return line first will allow you much better access to the high pressure line.

6) Pull both hoses together as an "assembly". This will allow you to look at them out on the ground so you get a better idea of how to install the new ones, and give you a chance to easily clean off all glop that's covering all the various bits and pieces. Mine seemed to come out easiest from the bottom, but YMMV!

7) Put your new hoses together using the old clamps, and route them the same way as the old, dirty, filthy rotten ones were. Tape up the ends of the new hoses to keep crud out of them!

8) Install your new, clean hoses as an "assembly". Fill the reservoir with Dexron or equivalent, and bleed the air per the TSM.

If you try and do them one-at-a-time, you'll be pushing, pulling, and fighting the old hoses out, and the new ones in, and using more than a few choice words. I spent probably way more time than I should have looking at how these were installed in the car, what held them down, how they were held together, and what had to be removed to do this the easiest way I could.

Face it, I'm "lazy", and I'd rather spend some time figuring out the "easy way" (as long as it's also "correct") to do something before I start on it, rather than have a D'OH! moment half-way through the job where I see a better way of doing something.

There's NOTHING in the TSM about removing/installing the hoses other than the cryptic "Remove the high-pressure hose", and "Remove the return hose".

When I saw how they were clamped together, and the clamps not only held them together, but held them in place, I figured it was easiest to just call them an "assembly", and pull them out together.


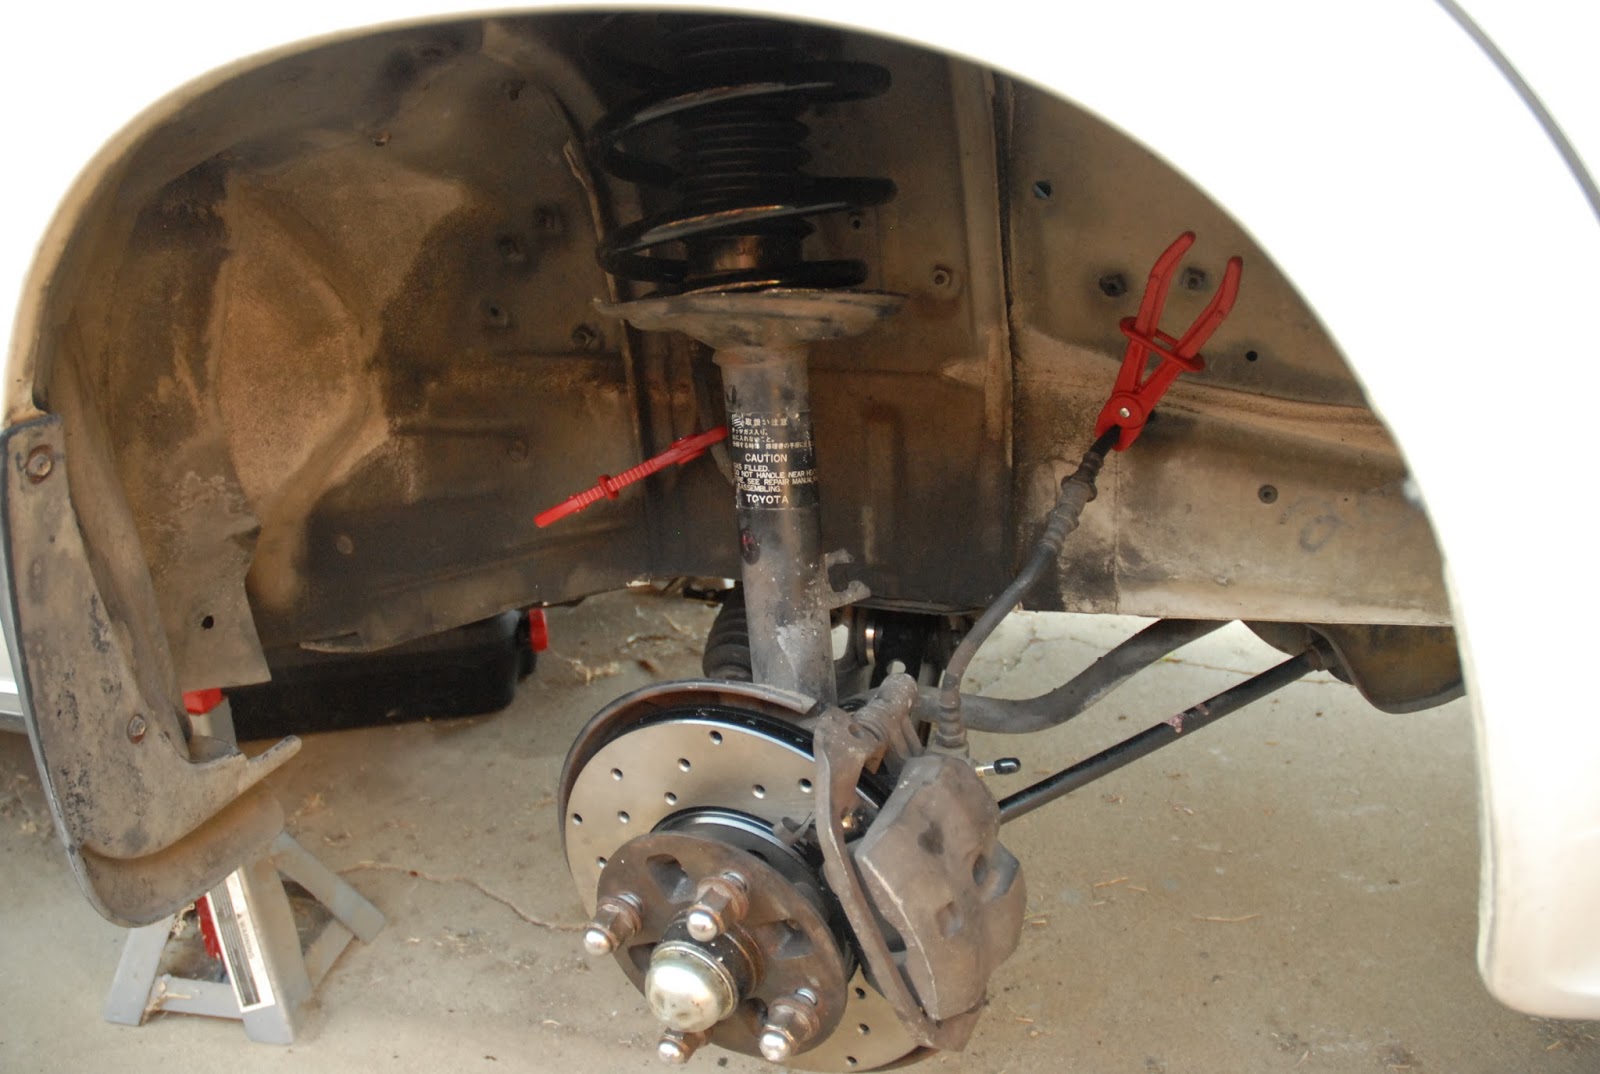
The connections on the right side go to the steering gear:


 and those at the upper left go to the pump, and fluid cooler:
 

Monday I'll scrub all the glop off the hardware, assemble the new hoses, and put it all back together. Then it's down to putting the wheels and tires back on, dropping it to the ground, and doing the final torquing of the suspension bolts, which requires the weight of the car to be on the suspension.

Then it's on to the rear, where my friends who've done this before assure me that even at my snail's pace work speed, I can swap out the springs and shocks in about 4~6 hours.

Then to the alignment shop, and a week of "shakedown" cruising to make sure it all works right!

Friday, September 9, 2016

Loose Ends......

Always seems to be that the "last 10%" of things to get done on a project always take more than 10% of the time!

Spent the whole day (so far....) farting around cleaning up various bits and pieces of The Great Front End Rebuild.

Like the bellows boot that covers the inner workings of the right side of the power steering rack and pinion gear.

The boot was torn in half when I bought the car, BUT unless you were looking right at it, or the wheels were turned full lock to the left AND you were looking right at it, you didn't notice it. The only evidence at the time was a few drops of liquid under the right side of the car. The boot had been ripped long enough that dirt and grit got at the seal on that end of the steering gear, and wore them enough that now it drips.

I have a rebuilt steering gear waiting in the box in the garage, but I'm not going to swap it out until I get back. Yeah, I know I'll have to eat the cost ($85) of another 4-wheel alignment after I change it, but the one in the car now doesn't leak much fluid, it'll be another "Big Deal" to swap it out, and it's NOT a safety issue, as the inner tie rod ends are (still) tight, and there's no slop in the steering, so the dirt only got to the outermost seal.

The "hardest" part of swapping out the bellows boot today was removing the outer tie rod end, and getting it back in exactly the same position it was in so that it didn't throw the existing (unknown quality) front-end alignment off.

I painted a stripe on the inner tie rod end, and used the "Edd China Method" of removing and replacing it.

I counted the turns until it came off, and then screwed it back on the same number.

Simple and effective, and will work more than "good enough" to get me to the alignment shop next week.

One more item crossed off The List.....

The last thing I really have to do other than doing the final torquing of the lower control arm bolts and the strut rod nut, is to replace the power steering high-pressure hose. This is the item that my "original" smog test place said was "Spraying Fluid EVERYWHERE!", and refused to smog the car on safety grounds. Even though I could only see a very few, very small droplets of fluid, I grudgingly accepted their decision as I had a power steering hose blow on me once. And because that car (another Toyota Celica, no less!) also had a cracked exhaust manifold on the same side of the engine as where the hose was, the fluid lit off under the hood with rather spectacular results. One of my neighbors saw it happen as I was coming down the street and said he thought they were filming some kind of action/adventure movie, and I was part of the special effects......

So, yeah, that hose has GOT to be replaced!

And while I'm down under the car in GreaseLand, I'll also replace the return line.

I was planning on starting the hose replacement Saturday, BUT "duty calls", and I've been asked to help provide some help escorting some visitors on the Iowa, so this gets put off (le sigh...) until Sunday.

On the plus side, I've lost 12 pounds since I started actively working on the car (again), and I can now bend over and touch my toes again.

Which might come in real handy if The Hildebeast sneaks in to the White House this fall.....

Thursday, September 8, 2016

Brake Bleeding

Got the front brakes bled today.

Between the Russell "Speed Bleed" screws, and the MityVac, it's a one-man operation!

I started by slurping out as much fluid as I could from the master cylinder reservoir with the MityVac, and then wiping out the reservoir with a clean shop towel.

The fluid that came out looked like VERY bad coffee, and the plastic reservoir was filthy with rusty colored slime.

Took most of a quart of new DOT3 fluid before it was coming out clean from the bleeder screw on the caliper, and the drivers side is the closest to the master cylinder.

Generally, you start bleeding at the brake that's furthest from the master cylinder, usually the right rear, but I've done it different ways at different times, and it never seemed to make a difference where I started from.

So, one more item crossed off the list!

Wednesday, September 7, 2016

New Shoes for Ms. Swan.....

The new rims are "XXR-531", and the tires are Toyo Proxes T1R.


And between the suspension rebuild and the mods, she ought to be able to really dance now....


The OEM wheels were 14x7, and the tires were 225/60-14.

The new hardware is 16x8, and 245/45-16.

Here's a "top view", kind of, of the OEM vs new:


The new tires are 20mm wider, about .79", and are "45 series" instead of "60 series".

I picked this size tire as it has the same "rolling radius" as the OEM tires, which means the speedometer should read the same.

HOWEVER...they look a little "shorter" to me, which means my "optimistic" speedo will be even more so. Oh, well...makes it harder to get a speeding ticket when the speedo indicates 65, and you're really doing about 62, as it is now.

The tires are also much newer technology even though they're both radial construction.

Monday, September 5, 2016

Right Side Strut Installed!

Geez....things are going so good today that I'd better find a BIG piece of wood to knock on!


And at the top, I installed the other mounting plate for the strut tower reinforcing bar:


I'll mess around a bit with installing the Raptor Racing braided stainless steel brake lines, and fix a screw-up on my part.

I accidentally installed the anti-rattle spring clips on the driver's side caliper upside down.

I didn't notice it until I was starting to rebuild the passenger side caliper, and as soon as I pulled the old pads, it smacked me right in the eyeballs.

I don't have to pull the entire caliper. Just remove one bolt, and pivot the caliper up just like I was changing the pads. Then remove the outer pad, flip the spring clips round, and put it all back together.

Right Side Lower Control Arm Installed!

And plenty of daylight left to get the strut in there!


Sunday, September 4, 2016

"Driving Ms. Swan....The Adventure Continues....."

Well, here's another update on things.

The right side strut has been completely refurbished with a new top mount, a new coil spring, and a new KYB shock insert.

The hub has new wheel bearings and a new seal, and the mate to my left side StopTech "Sport Rotor" is mounted.

Then I put the hub/disc assembly on the spindle, adjusted the wheel bearings, and put in a new cotter pin, and tapped on the dust cover, followed by installing the caliper with the new "PosiQuiet" ceramic brake pads, new Russell "speed bleeder" screw, and braided stainless steel line.

The lower control arm has been refurbished with a new Energy Suspension polyurethane bushing, and new polyurethane cushions for the strut rod, or "Lateral Locating Link" if you speak American cars!

I'm beat, as I've done all this work in the last couple of days, compared to taking two weeks to do it the first time.

It's nice having all the tools, AND the knowledge gained doing it the first time.

Final assembly of the right side will start Monday. I should be able to get the lower control arm and strut reinstalled in just a few hours this time, compared to a couple of days for the left side.

Then I'll flush the brake system and bleed  the front brakes, put the wheels and tires back on her, drop her to the ground and bounce her a few times, and then do the final torquing of the lower control arm bolts and strut rod nuts.

Then on to the the rear.....

We Hit 'Em.......<i>Now What Happens?</i>

  Breaking story from Newsmax.....